
Chair yoga does exactly what its name suggests: it takes the gentle stretches and breathing of yoga and moves them into a chair. No mat, no getting down on the floor, no balancing acts. Everything happens seated, or standing with the chair as a support, which makes it one of the most approachable forms of exercise for older adults — including people who have not exercised in years.
This article explains what chair yoga is, then sets out a complete gentle routine step by step, written so you can follow it straight from the page or print the page and keep it by your chair. Each movement comes with a plain description and a note on keeping it comfortable. Read the safety section first, and take the whole routine at your own pace.
What chair yoga is
Regular yoga includes postures done lying, kneeling and standing, many of which assume a level of strength and flexibility that takes time to build. Chair yoga adapts those ideas for a seated position. The chair supports your weight, so stretches can stay small and controlled, and there is no need to get up and down from the floor. The breathing side of yoga comes across unchanged: slow, steady breaths, matched loosely to the movements, with short pauses to rest and notice how you feel.
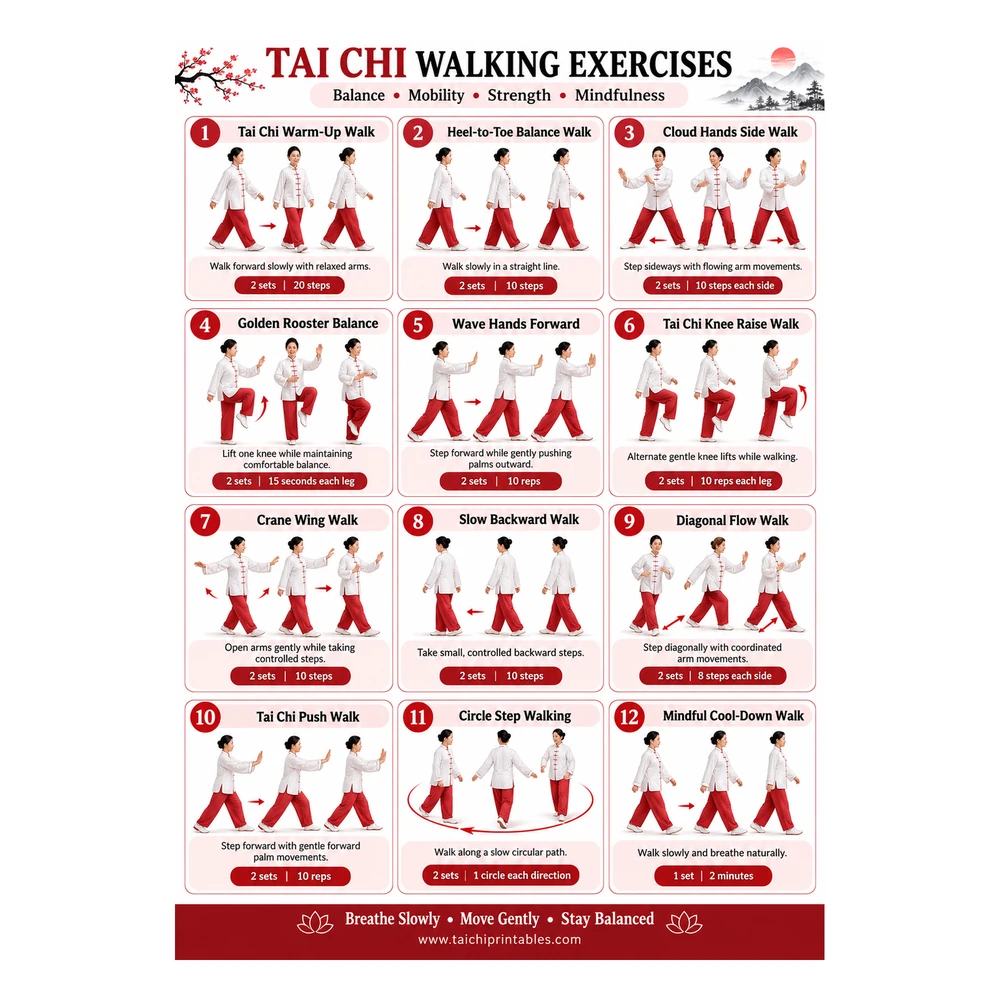
If you are wondering how chair yoga compares with the seated exercise we mostly cover on this site, our article on tai chi vs yoga explains where the two traditions meet and where they part, and our comparison of seated tai chi vs chair tai chi looks at seated practice in more detail. One honest note before the routine: the printable charts in our own shop are tai chi charts, not yoga ones. This chair yoga routine lives here in the article itself, for you to follow on screen or print from this page.
Before you begin: safety
- Use a sturdy chair without wheels, ideally without arms, placed on a non-slip floor. A dining chair is usually ideal.
- Sit towards the front half of the seat with both feet flat on the floor, about hip-width apart, unless a movement says otherwise.
- Move slowly, and only within a range that feels comfortable. A gentle stretch sensation is fine; pain is a signal to stop, not to push through.
- Breathe normally throughout. Never hold your breath to force a stretch.
- Stop and rest if you feel dizzy, unwell or sore, and skip any movement that does not suit your body. If you have a health condition, a recent operation, joint problems or back trouble, check with your doctor before starting. This routine is general educational information, not medical advice.
The routine, step by step
The full routine takes about fifteen minutes at a gentle pace. Repeat each movement as suggested, or do fewer repetitions — the numbers are a guide, not a test.
1. Seated posture and breathing
Sit tall, feet flat, hands resting on your thighs. Let your shoulders drop away from your ears. Breathe in slowly through your nose, letting your belly soften and rise a little, then breathe out just as slowly. Repeat for five or six breaths. This settles your posture and sets the pace for everything that follows.
2. Neck rolls
Let your chin drop gently towards your chest. Slowly roll your head towards one shoulder, then back through the centre to the other side, making a small, easy half-circle. Repeat three or four times each way. Keep the movement small and slow, and never force your head backwards — if full circles feel like a strain, stay with the half-circle.
3. Shoulder rolls
Lift both shoulders up towards your ears, roll them backwards and let them drop down. Repeat five times, then reverse the direction for five more. Move with your breathing — up on the breath in, down on the breath out. This is a kind one for shoulders that spend the day hunched over a table, a book or a phone.
4. Seated cat-cow
Rest your hands on your knees. As you breathe in, gently arch your back, lift your chest and look slightly ahead — the “cow” position. As you breathe out, round your back, let your shoulders roll forwards and drop your chin a little — the “cat”. Flow slowly between the two, five or six times, keeping both movements small. If you have back problems, keep the arch especially gentle, or skip this one.
5. Gentle seated twist
Sit tall with feet flat. Place your right hand on your left knee and your left hand on the seat or arm of the chair beside you. Breathe in to sit a little taller, then breathe out as you turn gently to the left, looking over your left shoulder if that is comfortable. Hold for two or three slow breaths, come back to the centre, and repeat on the other side. Twist from the waist, keep it easy, and never crank yourself round with your arms.
6. Seated knee lifts
Hold the sides of the seat for support. As you breathe out, lift your right knee a few inches, keeping the foot relaxed. Lower it slowly as you breathe in. Repeat five times, then change legs. Lift only as high as is comfortable — a small lift done with control is worth more than a high one done with a swing. If knee lifts bother your hips or back, make them smaller or leave this movement out.
7. Ankle circles
Extend your right leg a little in front of you, heel resting on the floor or the leg held just above it if that is comfortable. Draw slow circles with your toes, five in one direction and five in the other, then repeat with the left foot. Keep the circles smooth and unhurried. This is a good one for stiff ankles, and it can also be done any time you have been sitting for a while.
8. Supported seated forward fold
Sit near the front of the chair with your feet flat and a little wider apart. Rest your forearms on your thighs. As you breathe out, hinge gently forwards from the hips, sliding your hands down towards your shins only as far as feels comfortable, and let your head hang loose. Stay for two or three breaths, then walk your hands back up your legs and sit tall again. Repeat twice. Come up slowly — if you are prone to dizziness when standing or bending, keep the fold shallow or skip it altogether.
9. Closing breathing
Finish as you began: sitting tall, hands on your thighs, breathing slowly. Let each out-breath be a touch longer than the one before. After five or six breaths, open your eyes if they were closed, roll your shoulders once, and notice how your body feels before you stand up — slowly, holding the chair if you need to.
Frequently Asked Questions
Is chair yoga real yoga?
It is an adapted form of it. Chair yoga uses yoga’s stretches, postures and breathing, modified so they can be done seated or with a chair for support. It leaves out the floor work and the demanding balances, which is exactly the point — it keeps the gentle, useful parts within reach of people who cannot, or do not want to, use a mat.
How often should I do this routine?
Two or three times a week is a good start, and a short version — the breathing, neck and shoulder rolls and ankle circles — can be done daily if you enjoy it. Regular short sessions will do you more good than an occasional long one. Build up gradually and rest on days when your body asks for it.
What kind of chair do I need?
A sturdy dining-style chair without wheels is best. Avoid soft armchairs — they are hard to sit tall in and harder to move in. The chair should let you place both feet flat on the floor with your knees roughly level with your hips. Put the chair on a non-slip surface so it cannot slide.
I have arthritis. Is chair yoga suitable for me?
Many people with stiff or sore joints find gentle seated movement comfortable, because the chair carries their weight and every movement can be kept small. That said, joints vary, and this article cannot advise on your situation. Keep movements small and within a range that stays comfortable, skip anything that aggravates a joint, and ask your doctor or physiotherapist if you are unsure whether seated exercise is right for you.
Final thoughts
Chair yoga is a modest, practical idea done well: gentle stretches, steady breathing and a chair that does the supporting while you do the moving. The routine above is complete as it stands — print it, prop it where you can see it, and work through it at your own pace. Start gently, skip what does not suit you, and let regular small sessions do their quiet work.