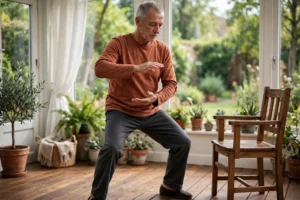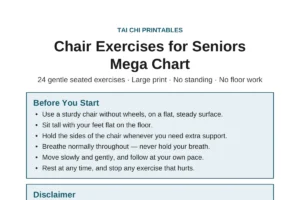


From the outside, tai chi can look like something only experts could memorise: a long, flowing sequence with poetic names. Our beginner workbook takes a much smaller view. It contains eight movements, learned one at a time, and each one is a gentle beginner adaptation — a simplified, shortened version of a classic tai chi movement, chosen for learning the basics at home. The workbook is clear about what that means: a starting point for your own practice, not a complete traditional form.
This page explains those eight movements in plain language: what each one looks like, the simple idea behind it, and whether it can be done seated. It is a guide to recognising the movements — not a lesson. The full step-by-step instructions, repetition counts and practice plans stay in the workbook, where they belong.
How to use this page
Read through the eight movements first, to make the names familiar. When you come to try them, the pattern the workbook sets is simple: practise standing on a clear, flat floor with a sturdy chair beside you, hold the chair whenever you need to, and learn one movement at a time, not all eight at once. Four of the eight also come with a seated option — those are marked below. For a practice that is seated from start to finish, see our chair tai chi guide, linked in the questions below.
Four basics behind every movement
Before the movements themselves, the workbook teaches four foundations that run through everything that follows:
- Posture. Stand tall with your feet about hip-width apart and your head lifted, as if a thread were pulling the top of your head upward. Keep your knees soft — never locked straight.
- Breathing. Breathe naturally and calmly. Never force your breath or hold it; let it settle into the slow pace of the movement.
- Weight shifting. Move your weight fully onto one foot before you step with the other. Small, complete shifts feel steadier than quick half-steps.
- Relaxed shoulders and hands. Let your shoulders drop away from your ears and keep your hands soft, fingers gently apart. Tension anywhere is a sign to slow down.
The 8 movements, one by one
The movements are listed in the order the workbook teaches them.
1. Commencement. Every practice starts here. Standing with your feet about hip-width apart, you let both arms float up in front of you to about shoulder height, palms facing down, rising as you breathe in — then lower them slowly back to your sides as you breathe out. It is the simplest of the eight, and it sets the pace for everything after it.
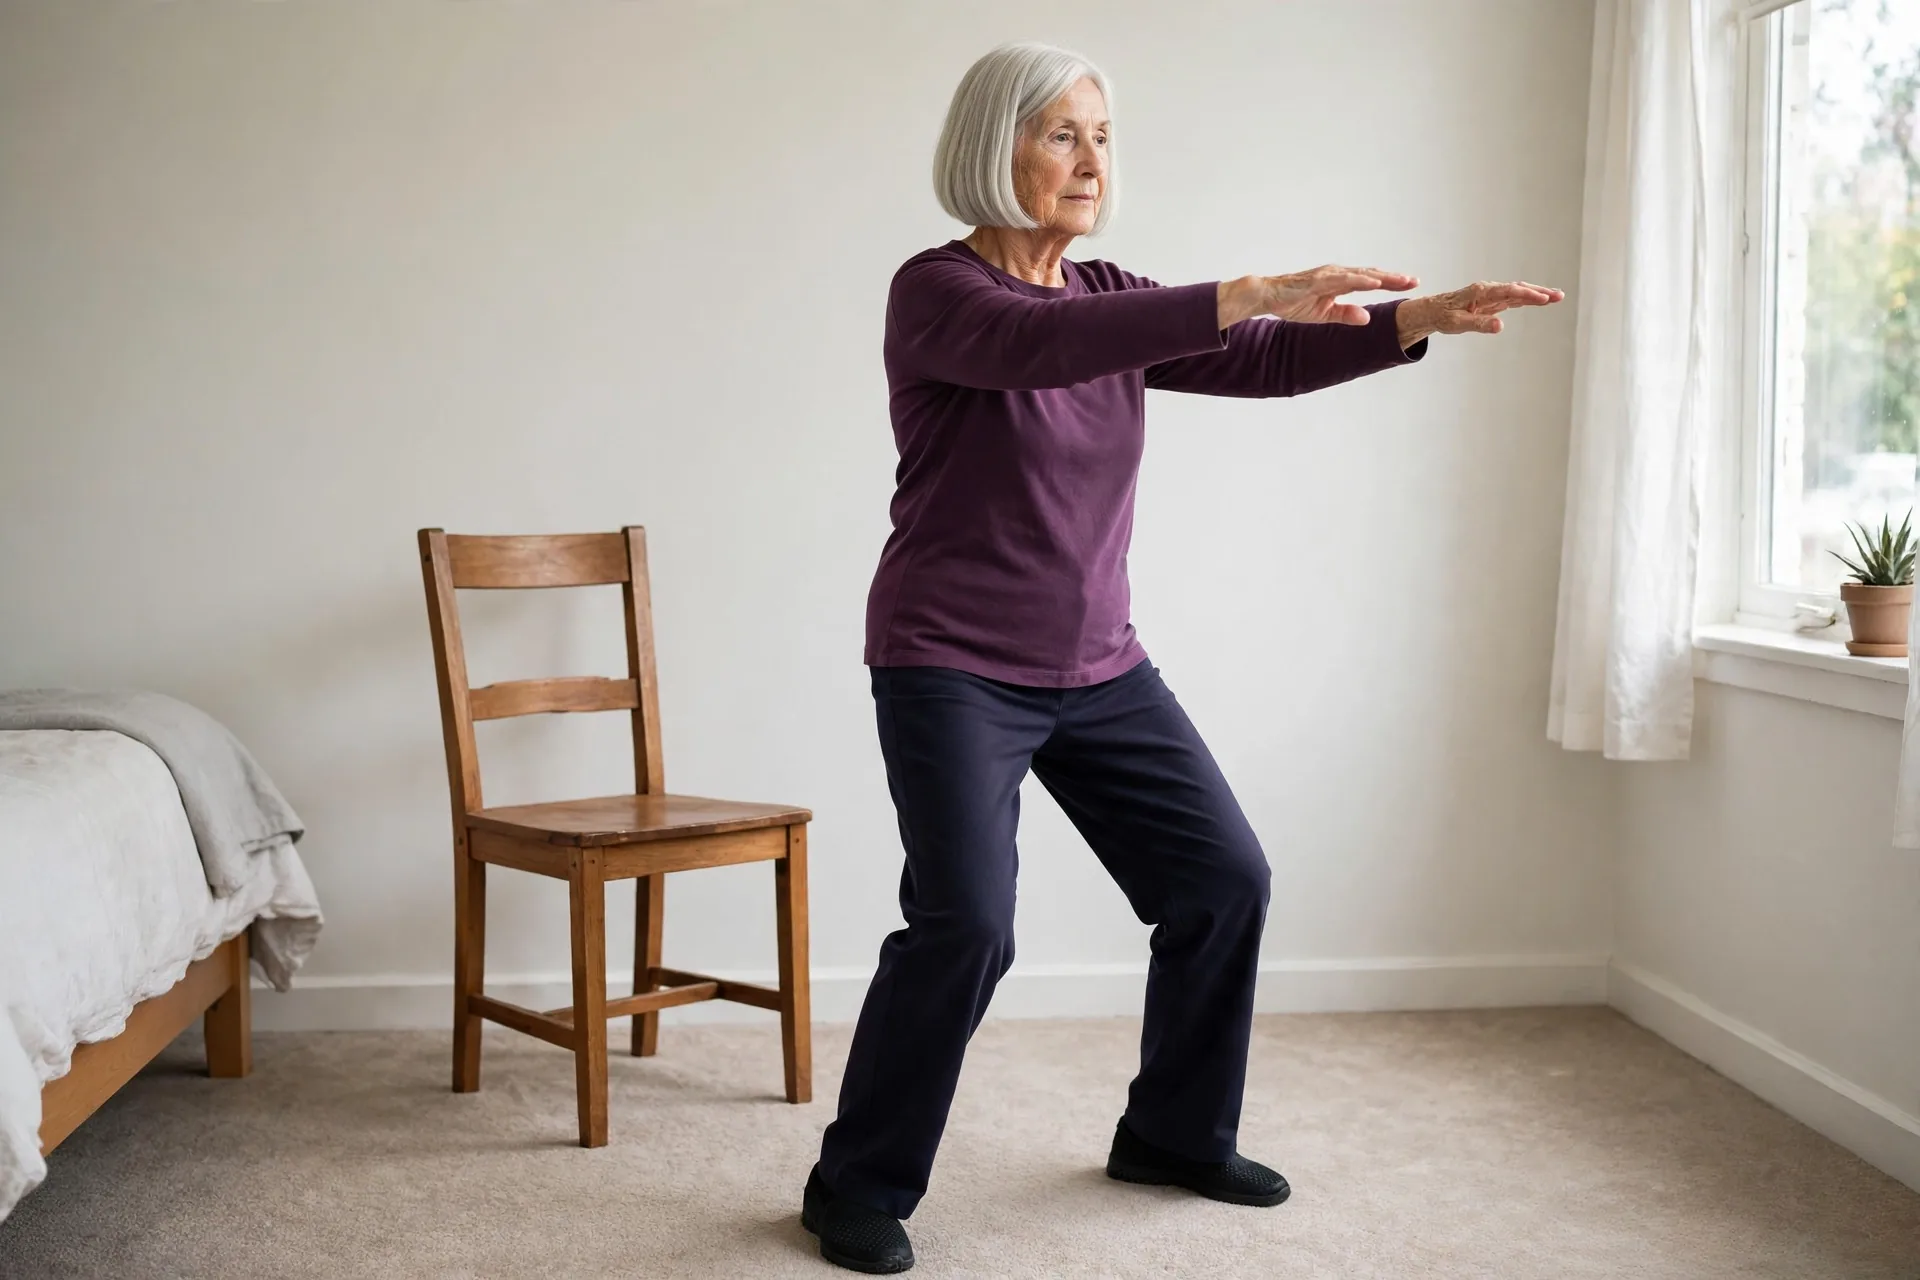
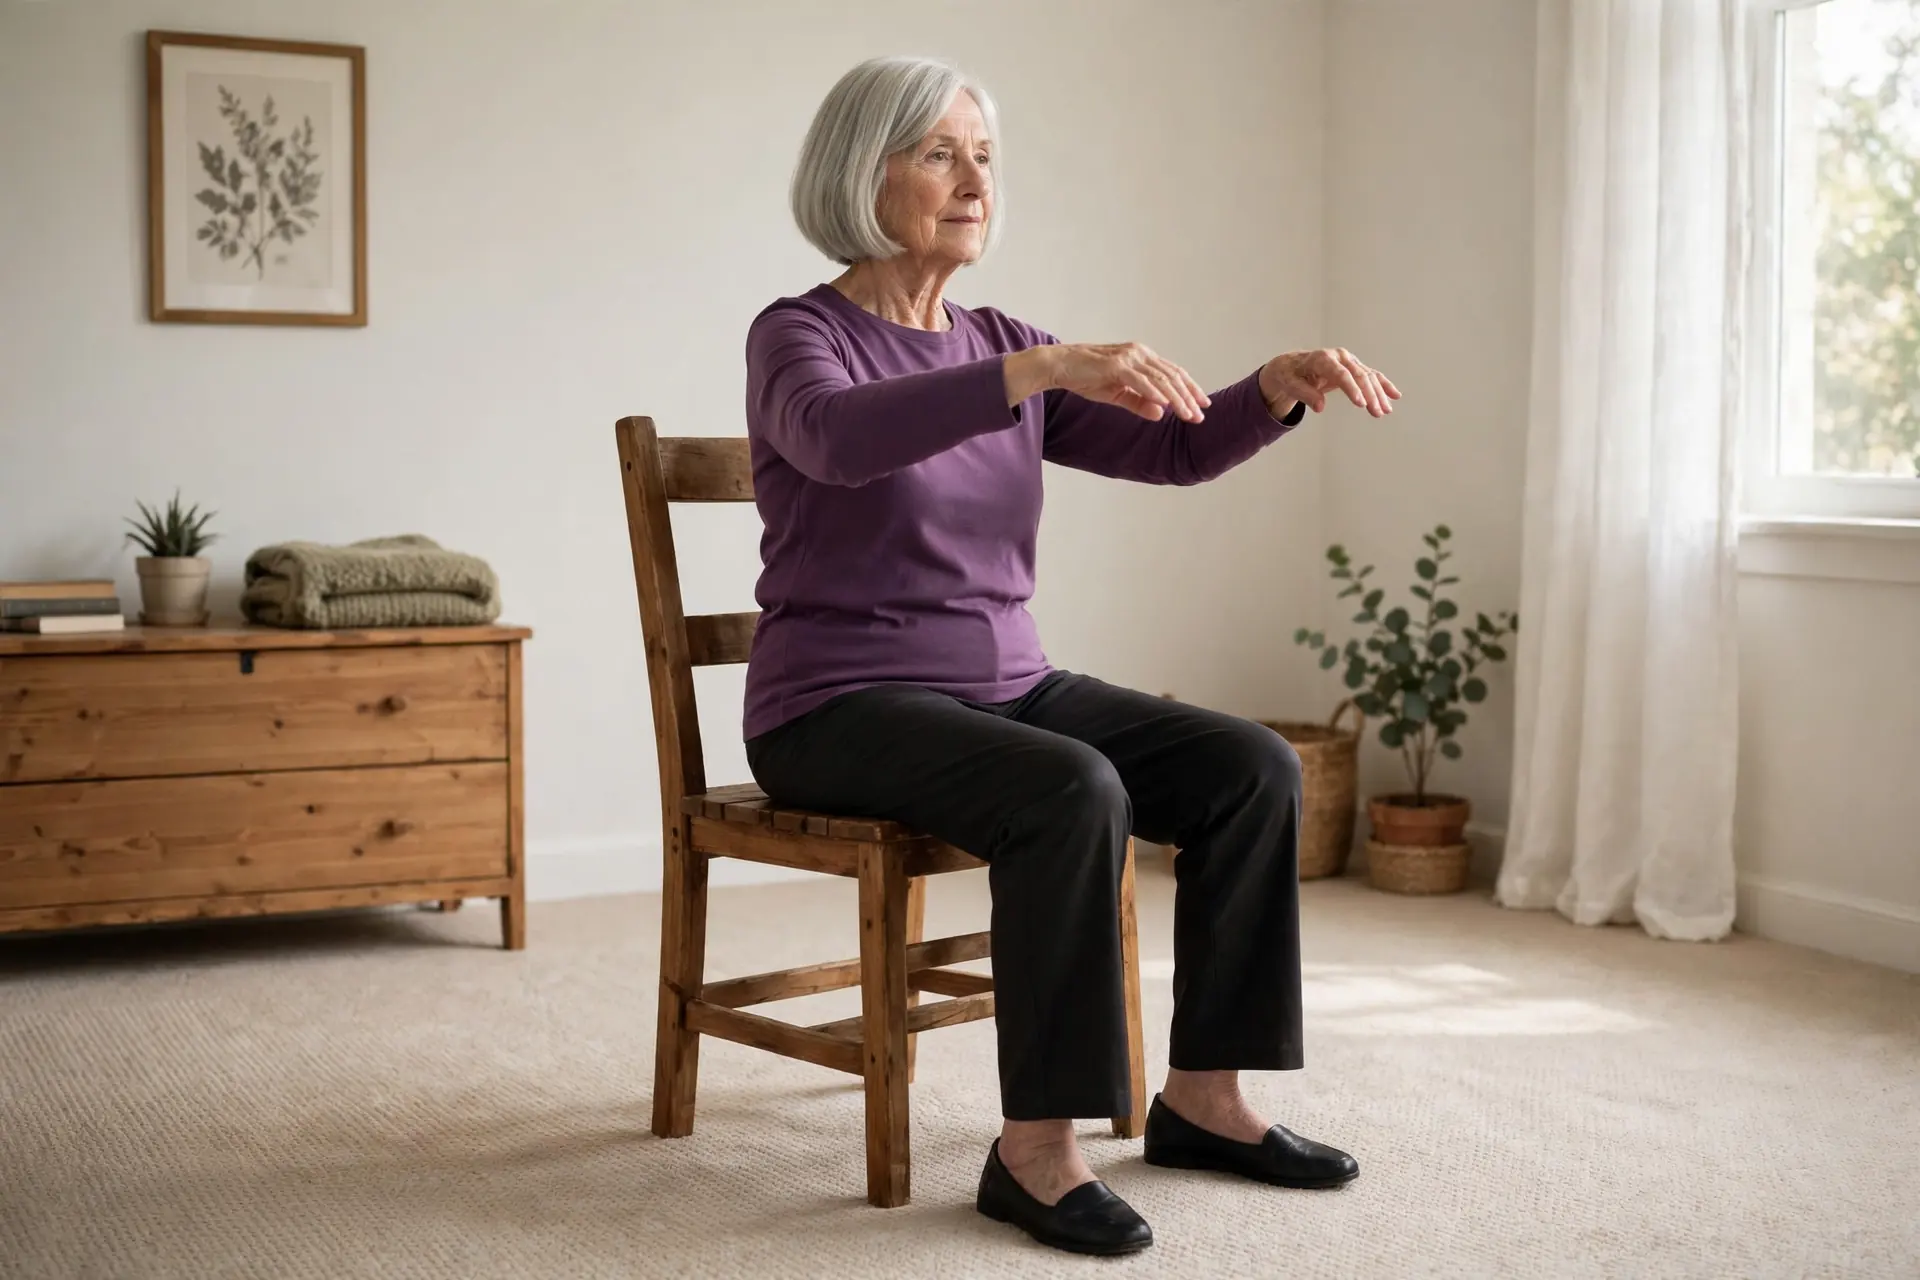
Seated option: yes — the whole movement can be done sitting tall in your chair, feet flat on the floor.
2. Parting the Horse’s Mane. You take a short step out to the side while one hand sweeps forward at chest height and the other draws back to rest near your hip, shifting your weight gently onto the stepping foot. Then you return to the centre and repeat on the other side. Seated option: yes — the same arm movements, with your weight shifting gently from side to side in your seat instead of stepping.
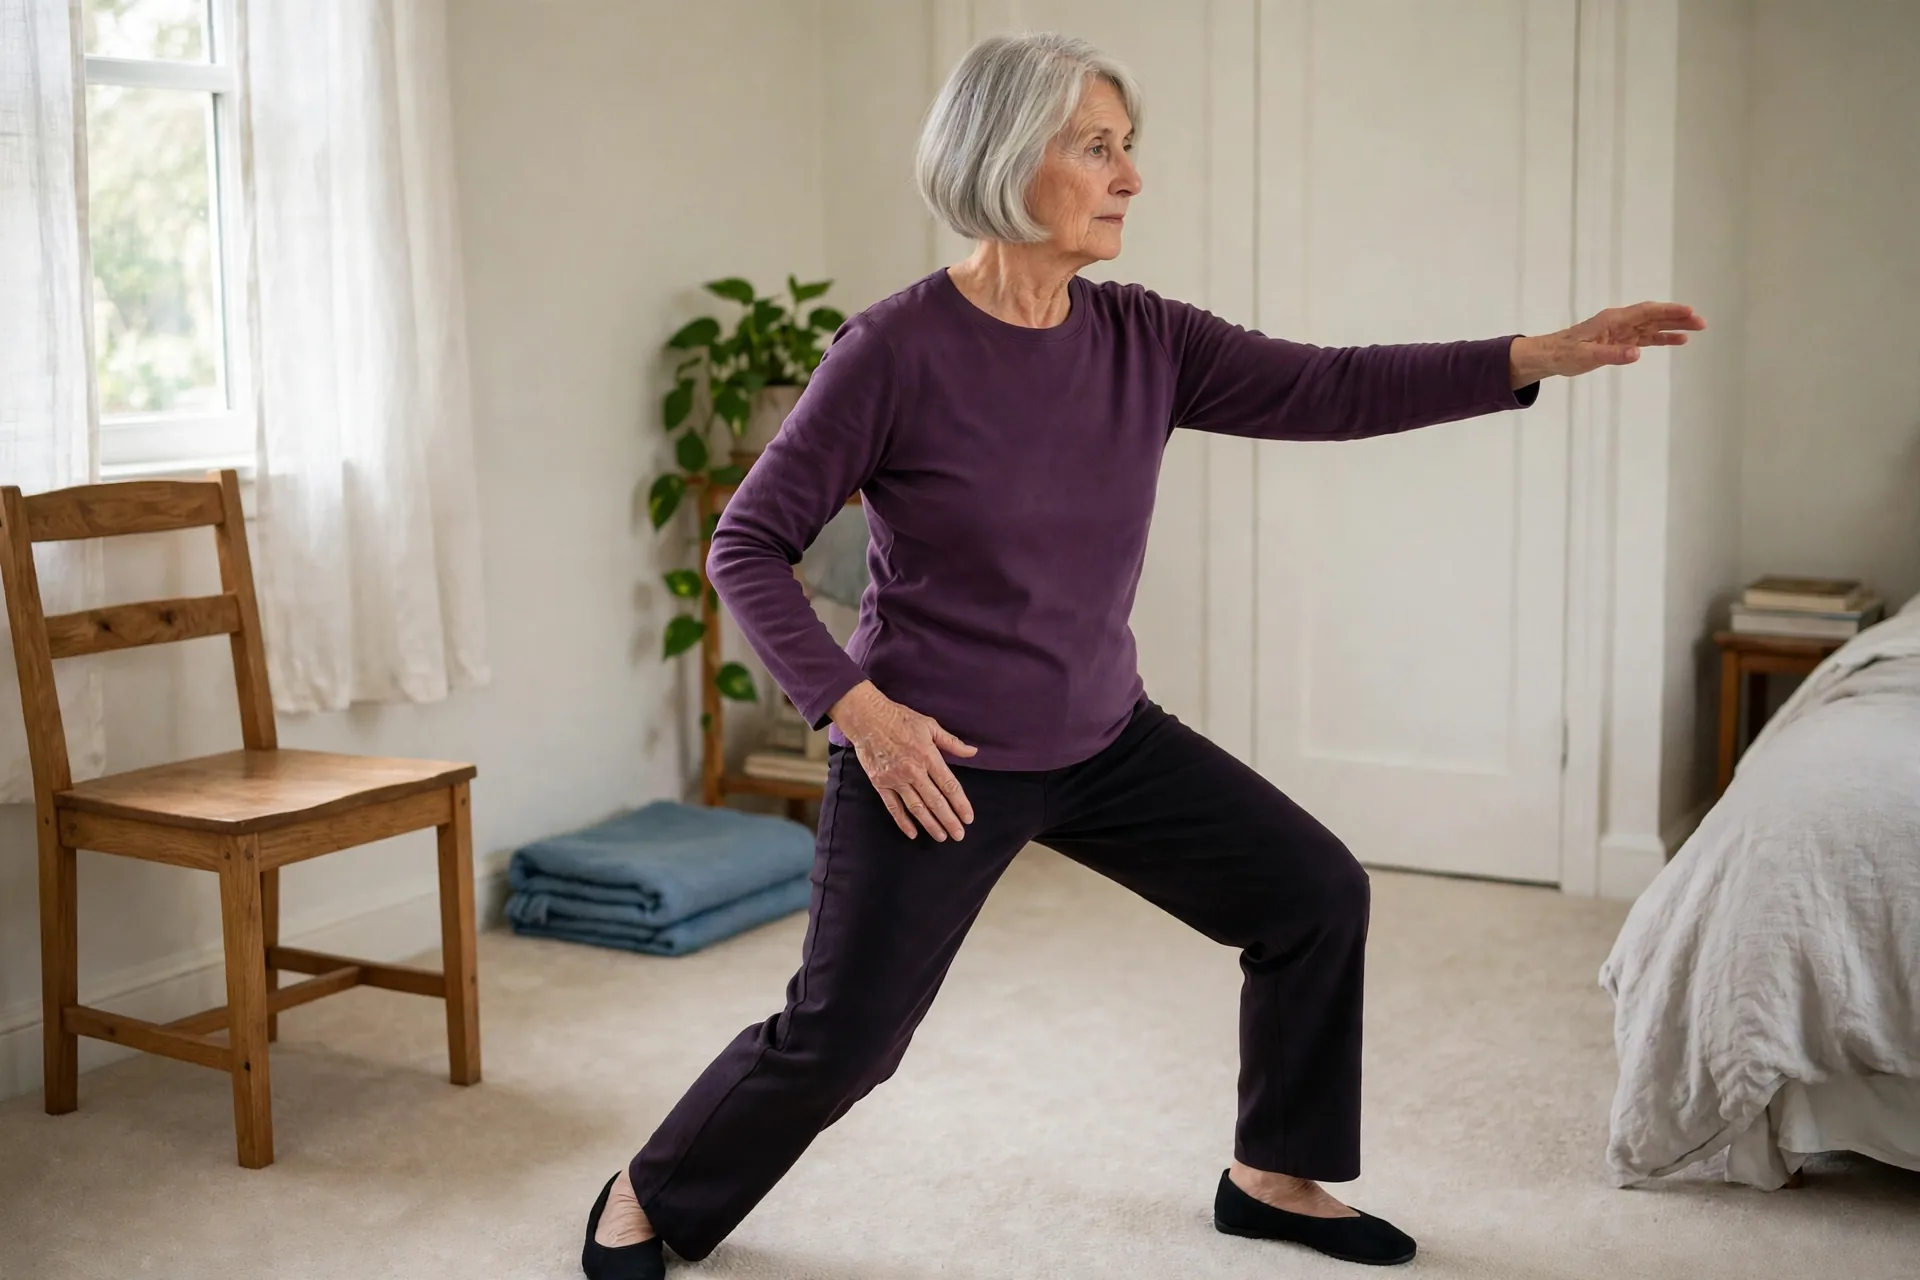
3. White Crane Spreads Its Wings. You take a small step forward, keeping most of your weight on your back leg, while one hand rises up beside your head and the other presses gently down beside your hip. The arms open in opposite directions, like wings, and you pause for a breath before returning to the centre. Seated option: none in the workbook — practised standing beside your chair, holding it whenever you need to.
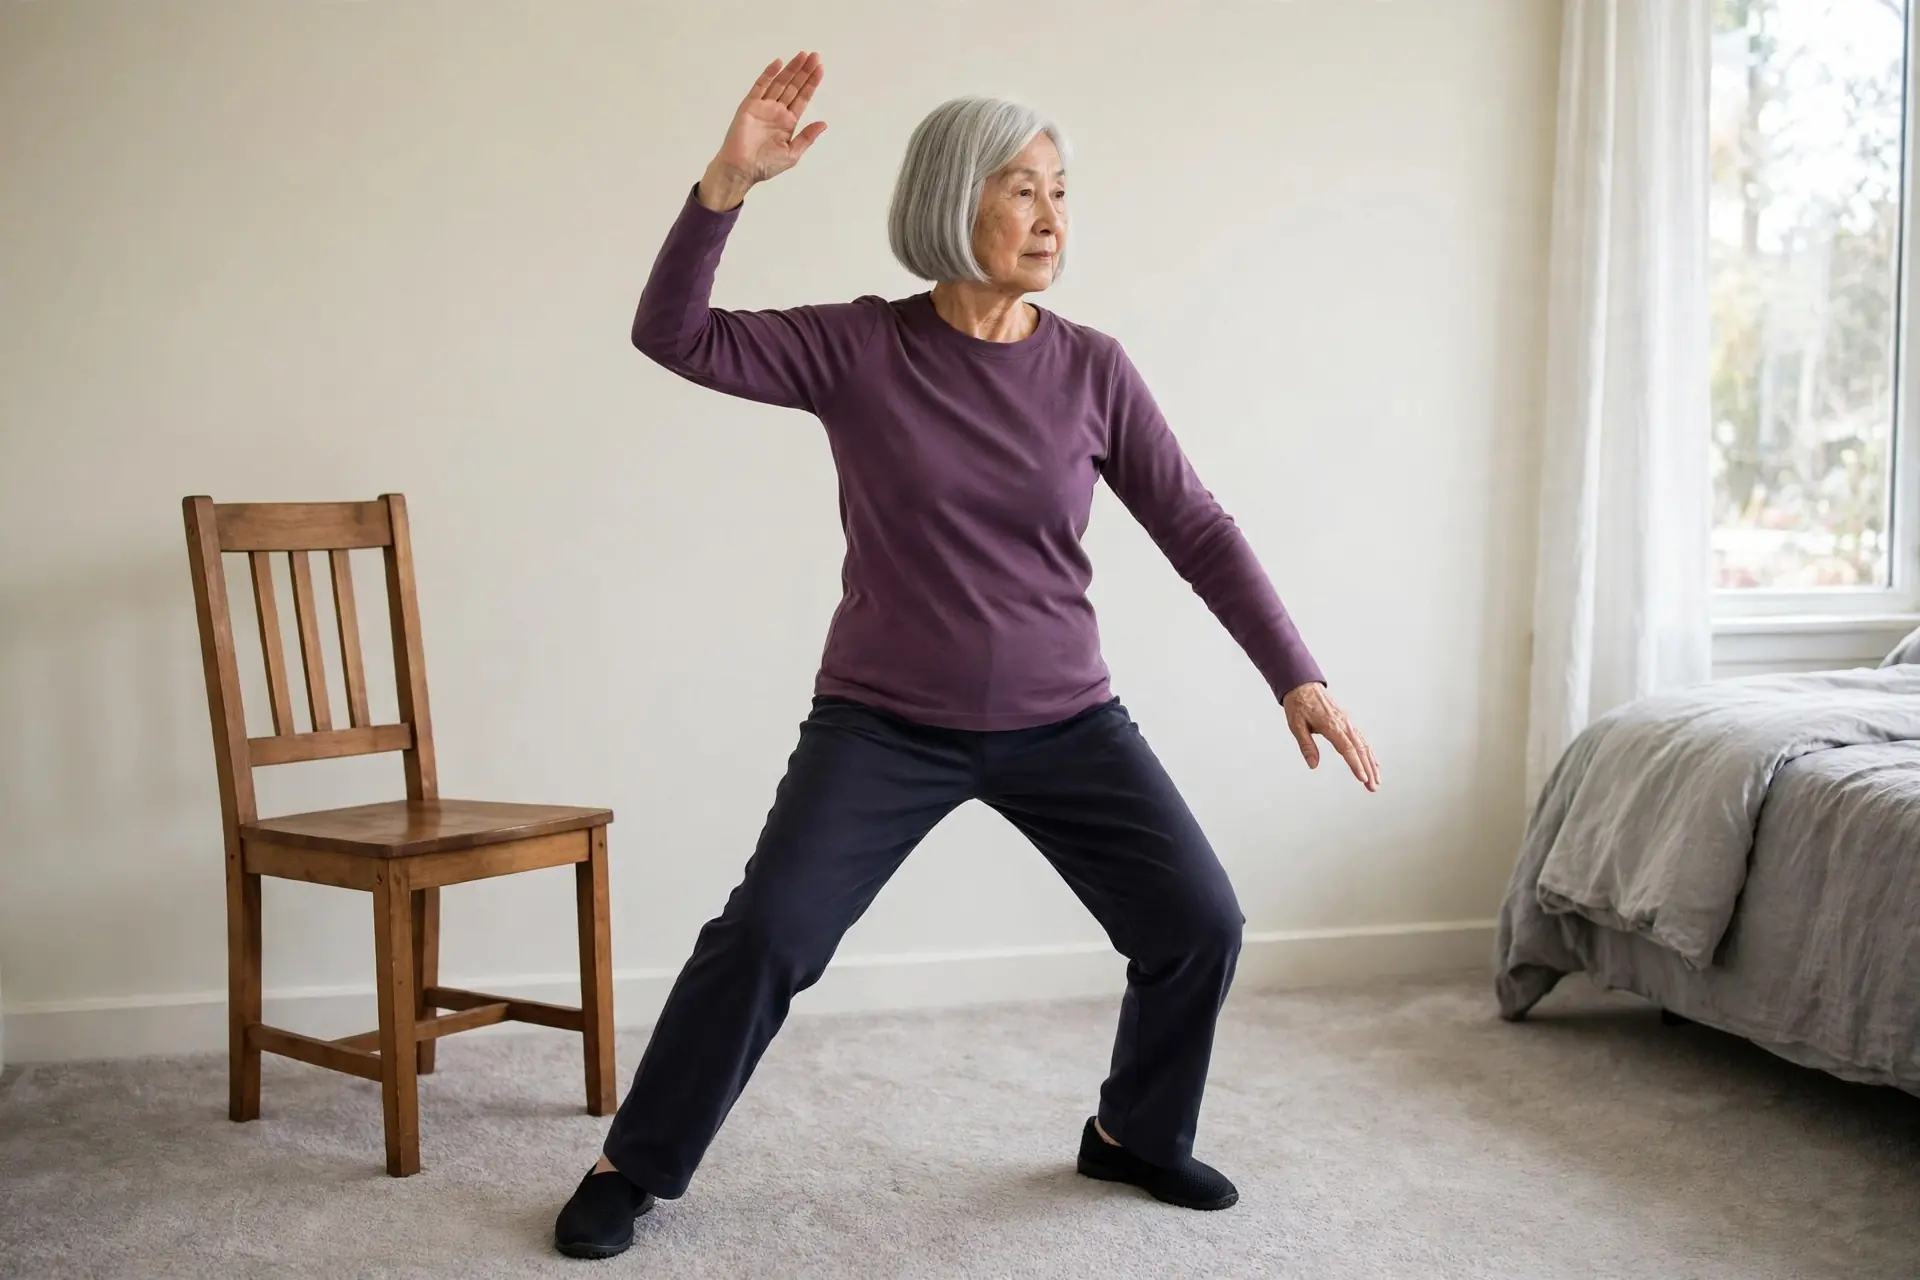
4. Brush Knee and Push. A short step forward, and as you step, the hand on the stepping side brushes gently down past your knee while the other hand pushes forward at chest height, palm facing out. One hand sweeps low, the other presses forward — calm and coordinated, not forceful. Seated option: none in the workbook — practised standing, with the chair beside you for support.
5. Play the Lute. You step one heel forward so that only the heel touches the floor, toes pointing up, and raise both hands in front of your chest as if holding a lute — one hand a little higher than the other, elbows soft and rounded. This one is a still position: you hold it quietly for a few breaths before stepping back and changing sides. Seated option: none in the workbook — practised standing beside your chair.
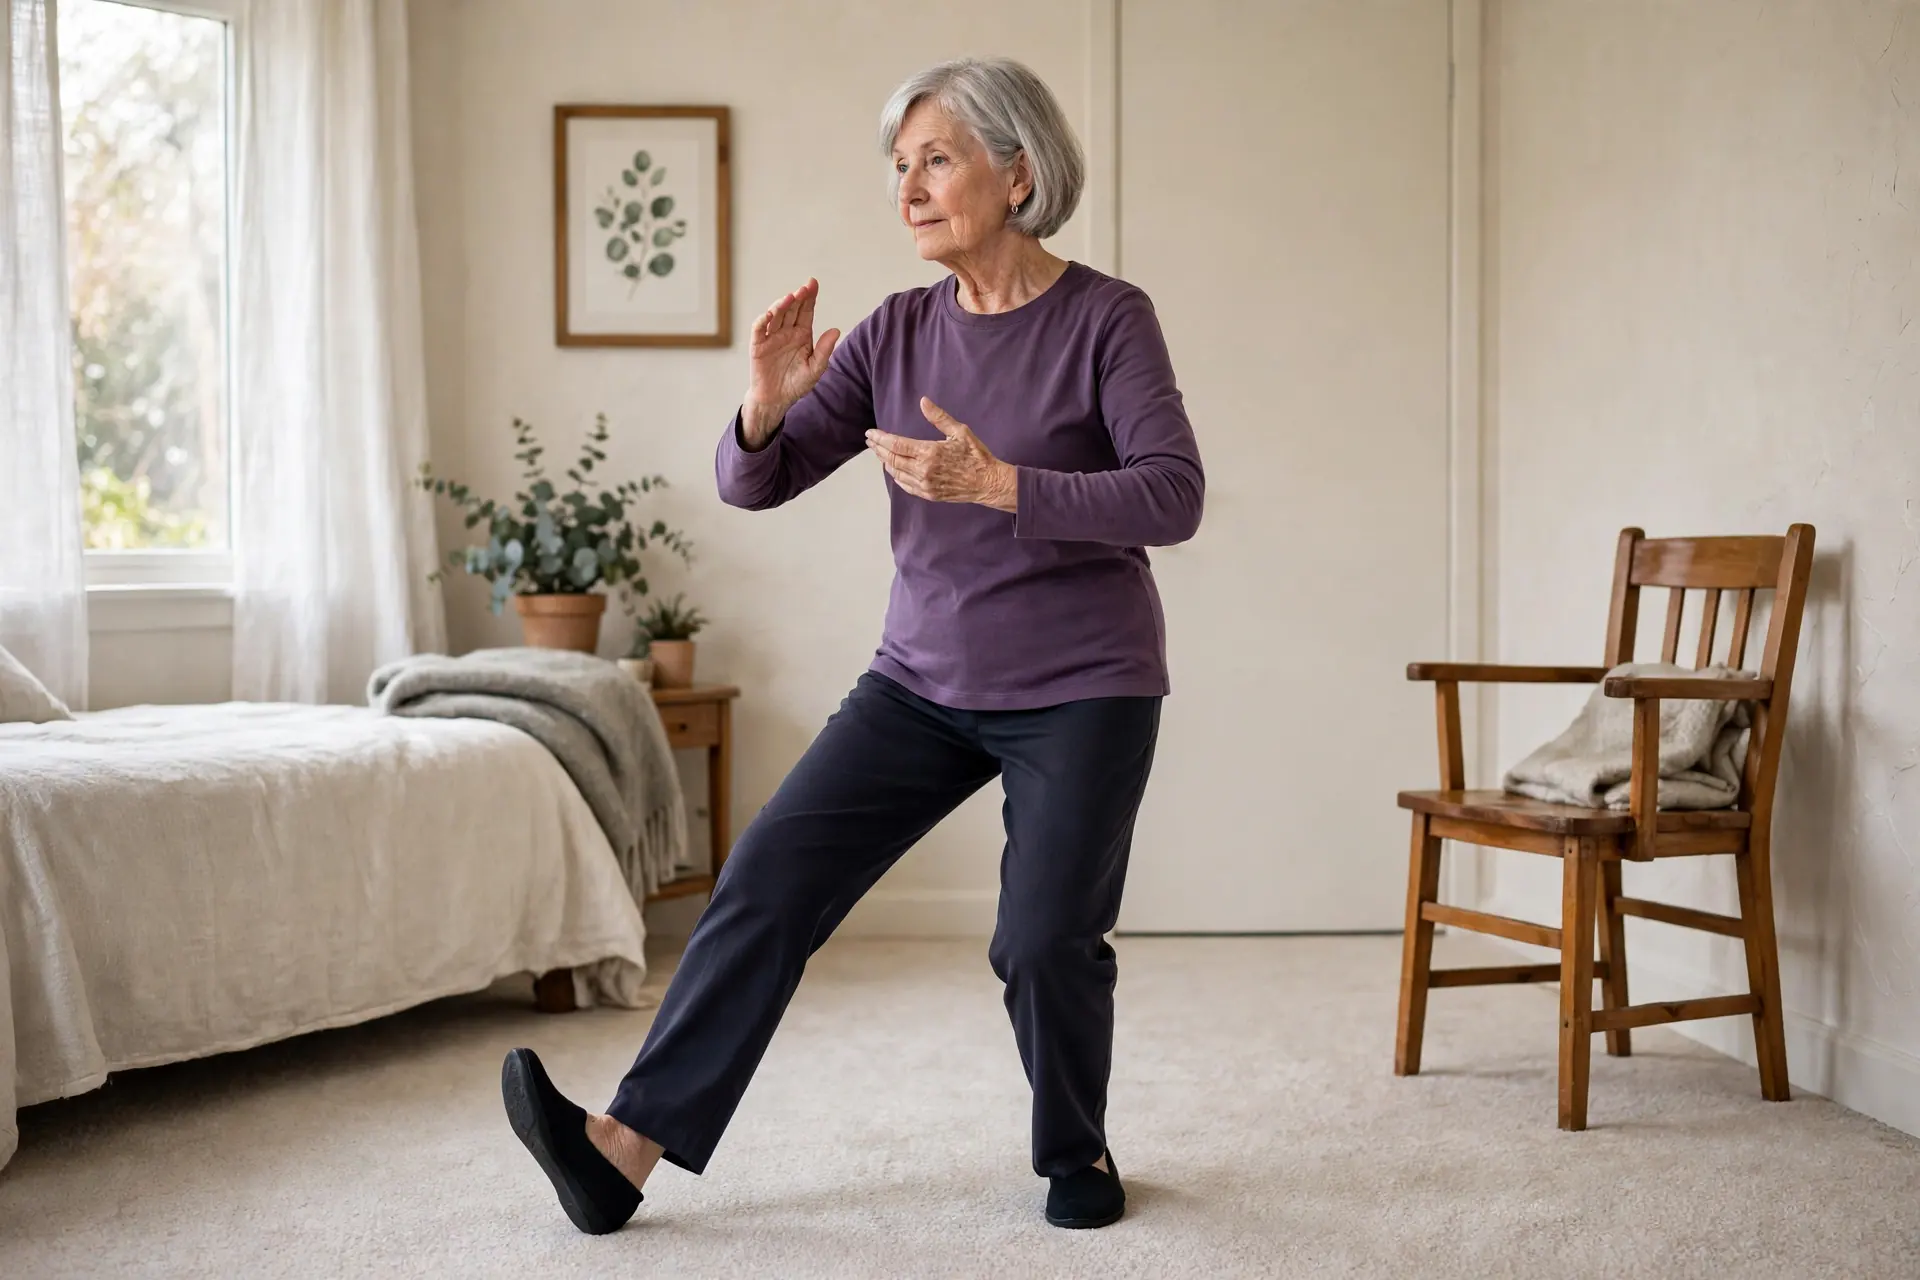
6. Repulse the Monkey (Simplified). The one movement that travels backwards. You take a short step back while one palm presses gently forward at chest height, as if pressing against a soft wall, then draw the hand back and repeat on the other side. The workbook carries the word “Simplified” in the movement’s name itself — what you are learning is a shortened beginner version, kept small and within reach of your chair. Seated option: none in the workbook — practised standing, holding the chair whenever you need to.
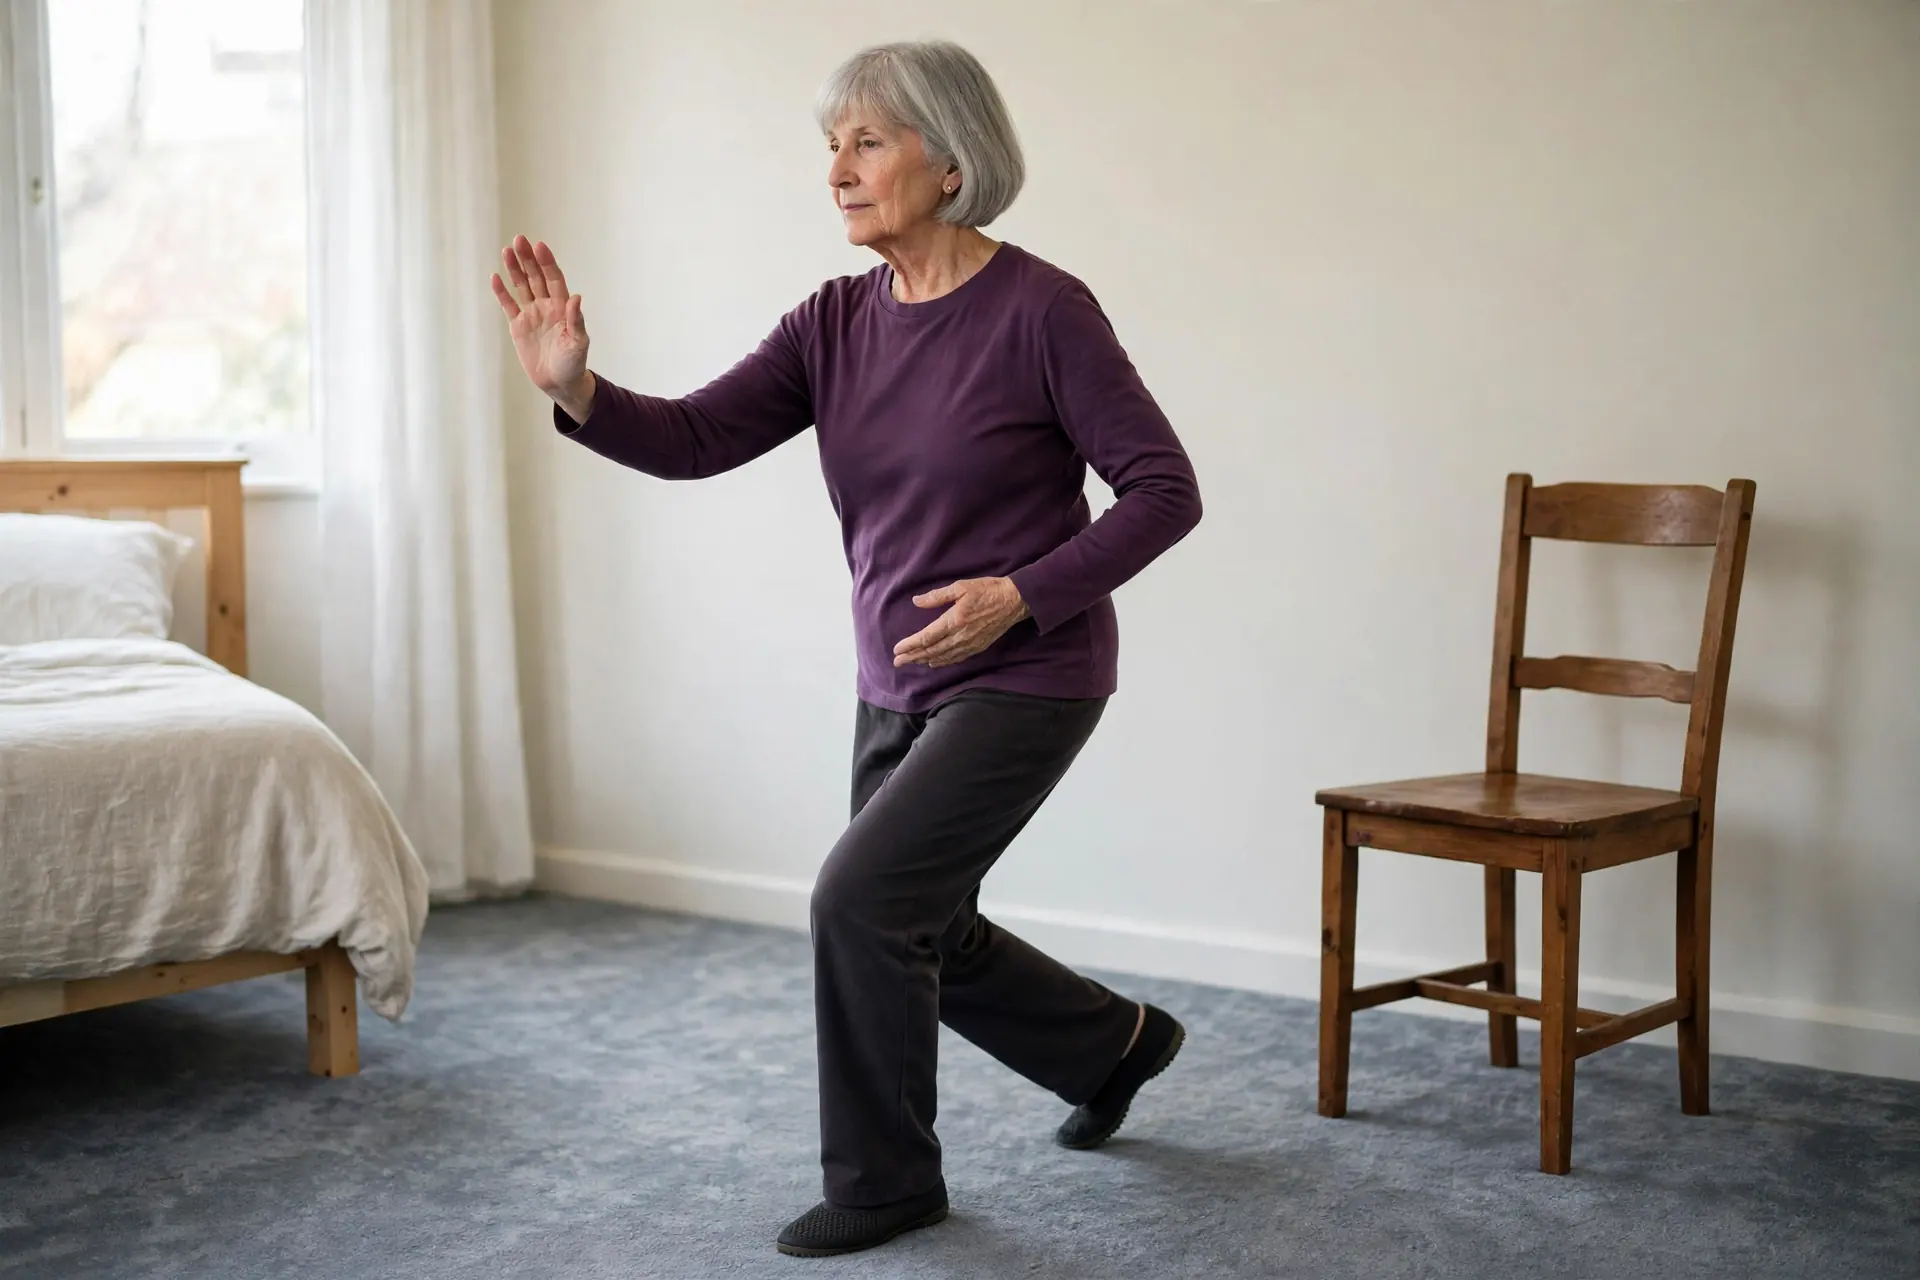
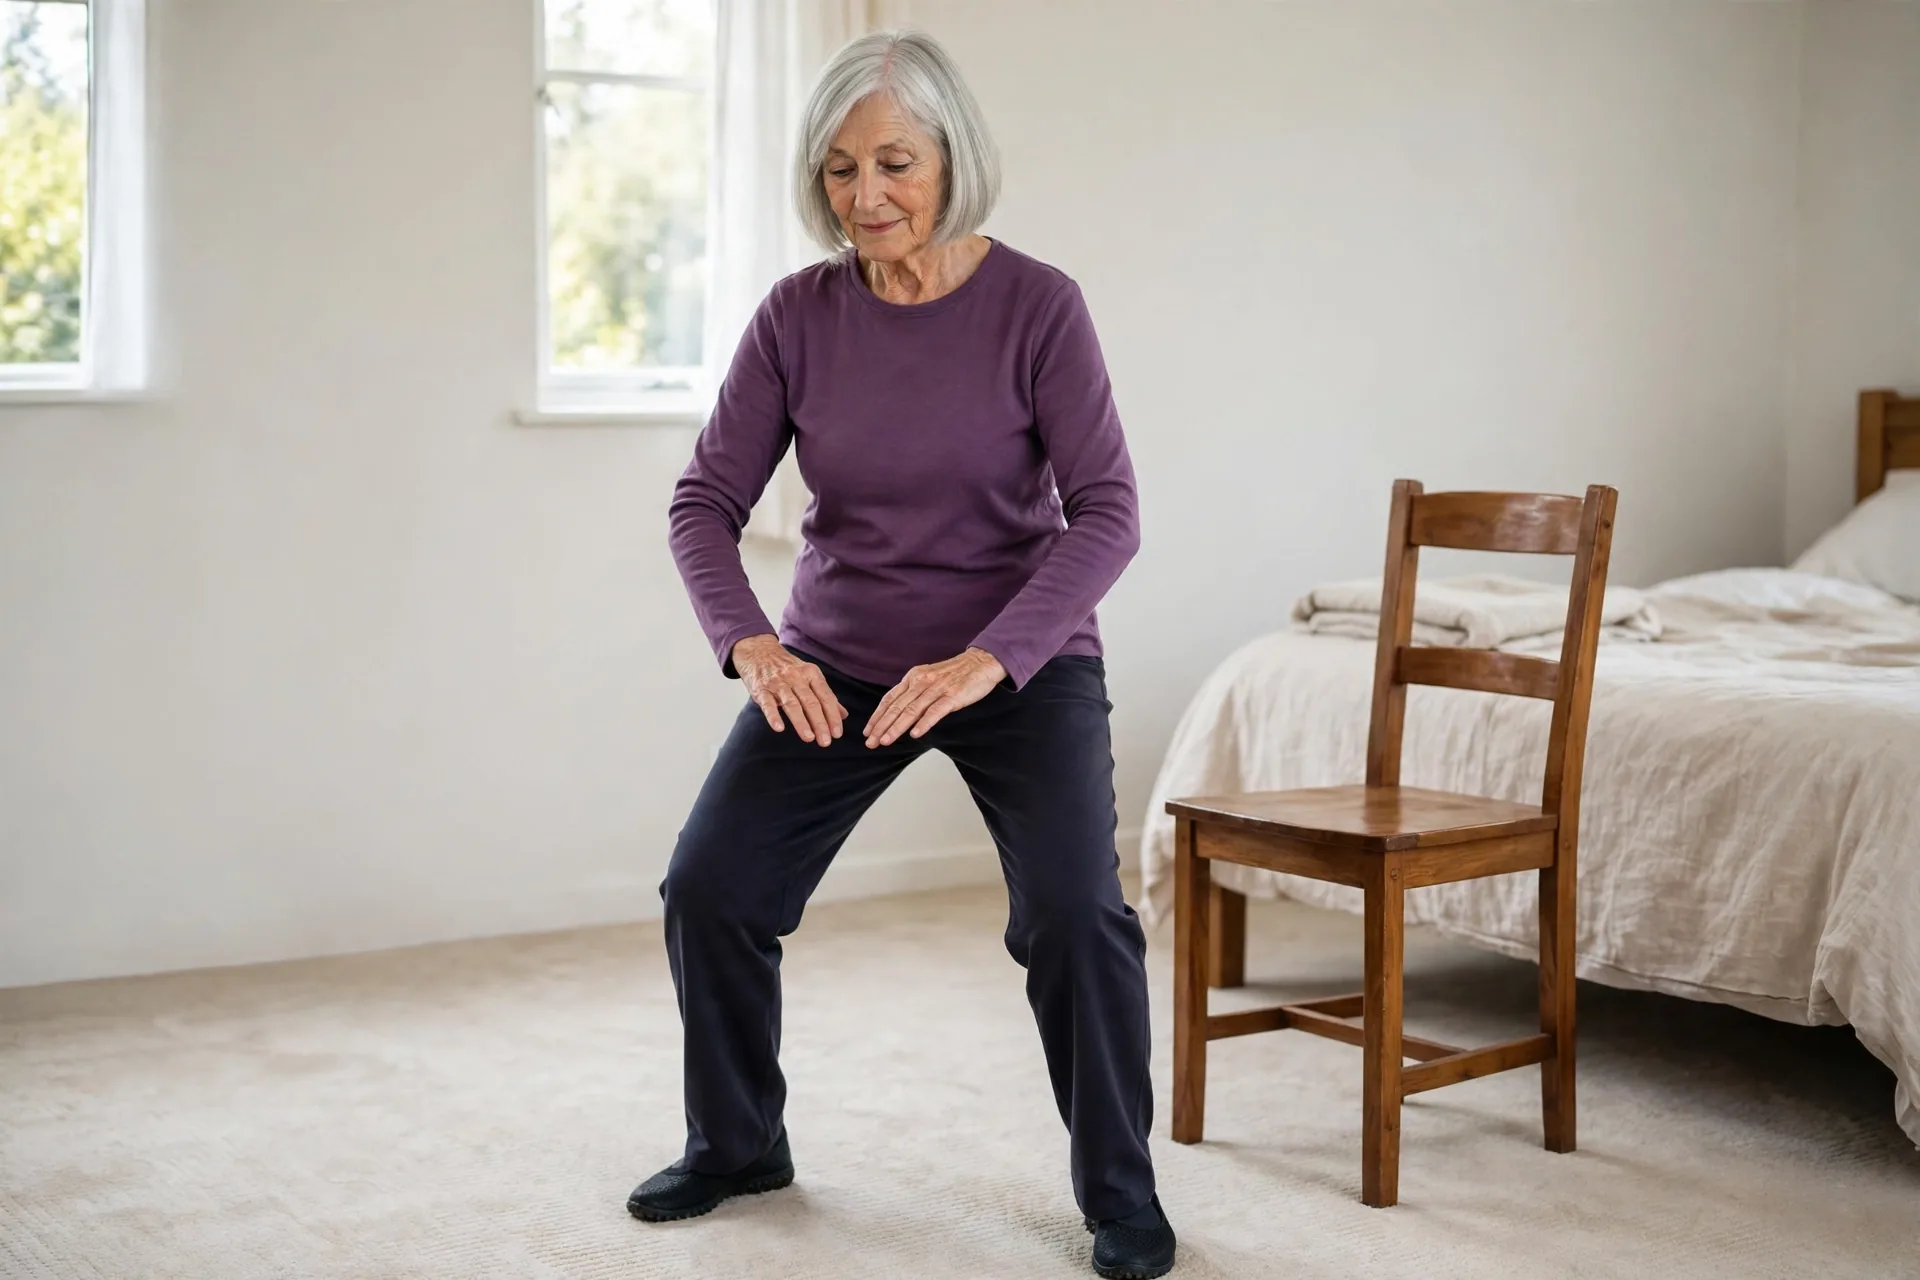
7. Cloud Hands. Standing with your feet a little wider than hip-width, you let your hands drift from side to side at waist height, one hand above the other, as if moving soft clouds — and your weight shifts from foot to foot as they travel. Small side steps are optional; standing in place and shifting your weight is a complete version too. Seated option: yes — hands drifting side to side at waist height while your weight shifts gently in your seat.
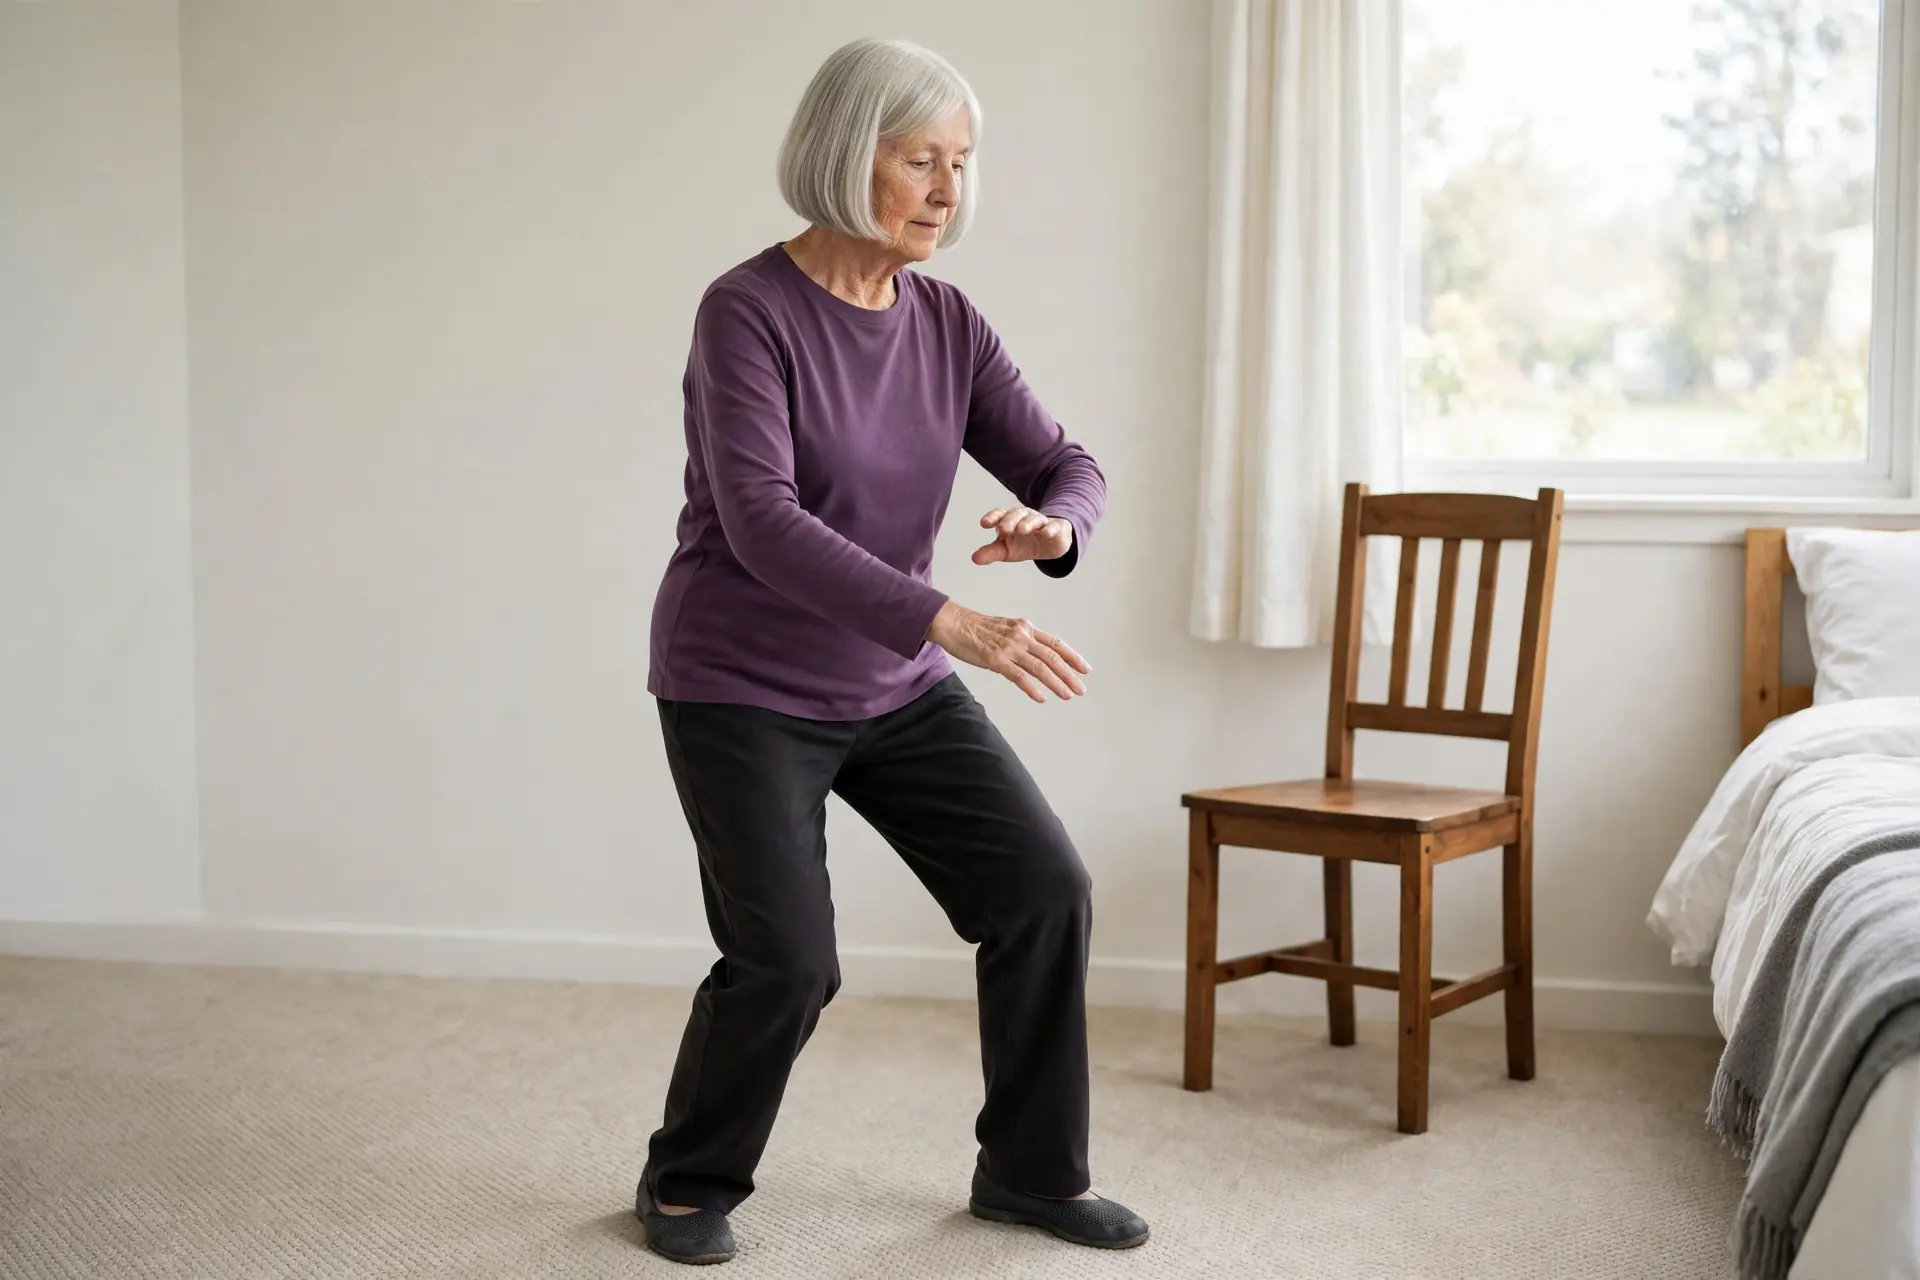
8. Closing. The mirror of the first movement, and the end of every practice. Back at the centre, you breathe in and let your hands float up to chest height, palms facing down, then breathe out and press them gently down in front of your body until they rest beside you. It finishes with a few slow breaths, standing still. Seated option: yes — it can be done sitting tall in your chair, feet flat on the floor.
Putting them in order
In practice the eight are a chain: once you know them all, the workbook joins them together in the order above, moving from one to the next without rushing, and the whole routine takes about 10 minutes at a slow pace. It also provides a 2-week starter plan that adds the movements in pairs, plus a practice tracker.
None of that plan is reproduced here — the sequencing, step-by-step teaching and day-by-day structure are the workbook’s content. If you want to learn the movements properly rather than just recognise them, they are set out in the Tai Chi for Beginners Workbook, a 9-page large-print printable with the foundations, all eight movements in full, the complete routine and the starter plan. And it is fine to rest between movements while you are learning — the workbook says so itself.
Safety first: read this before you begin
These points come from the workbook’s “Before You Start” page and its Foundations section:
- Practise in a clear, flat space with nothing to trip over, and place a sturdy chair beside you.
- Keep the chair within reach at all times — rest a hand on it whenever you need support.
- Wear flat, non-slip shoes.
- Move slowly and take small steps. There is no need to stretch far or move quickly.
- Keep your knees soft — never locked straight — and breathe naturally throughout; never hold your breath.
- Stop at once if you feel dizzy, in pain or out of breath. Sit down in your chair and rest.
- If you feel unsteady, have someone nearby while you practise.
- Check with your doctor before starting tai chi, especially if you have a health condition or a history of falls.
Frequently asked questions
Do I have to learn all 8 at once?
No — the workbook is built the opposite way. You learn the movements one at a time, and its 2-week starter plan adds them in pairs: two, then two more, then two more, until in the second week you know all eight and can practise them joined together. Nothing needs memorising in one sitting, and rest days are part of the plan.
Can I do these sitting down?
Four of the eight can: Commencement, Parting the Horse’s Mane, Cloud Hands and Closing each have a seated option in the workbook. The other four are standing movements, practised beside the chair with a hand on it whenever you need support. If you want a practice that stays seated all the way through, the chair tai chi routine is the better fit.
Are these the full, traditional tai chi movements?
No, and the workbook does not pretend otherwise. It describes its eight movements as gentle beginner adaptations — simplified, shortened versions of classic movements, chosen for learning the basics at home: a starting point for your own practice, not a complete traditional form. What they do teach is the real groundwork: upright posture, slow weight shifting and calm, natural breathing.
How long does the full set take to practise?
About 10 minutes. Joined together in order at the slow pace the workbook teaches, one full run-through takes about 10 minutes. The starter plan’s second week builds up to sessions of about 10 to 12 minutes on four or five days, with rest days whenever you need them.
What is the difference between tai chi and qigong?
They are related Chinese practices, and the workbook explains the difference this way: qigong is built from simpler movements usually repeated one at a time, together with breathing exercises, while tai chi links its movements into continuous sequences, sometimes called forms. If you are deciding which to start with, our qigong vs tai chi comparison walks through the choice in more detail.
A final word
Eight movements is a small promise. You do not need to master a traditional form to begin tai chi at home — you need the first movement, then the second, learned slowly beside a chair you can hold whenever you want to. If you would like the full teaching version, with every step written out and a plan for your first two weeks, it is in the Tai Chi for Beginners Workbook. And if the weight-shifting itself appeals to you, our guide to tai chi walking for beginners applies the same slow, deliberate shifting to walking itself.
This article and the workbook it describes are general educational information, not medical advice. Stop if you feel pain, dizziness or breathlessness, sit down and rest, and check with your doctor before starting a new exercise routine, especially if you have a health condition or a history of falls.